blackberry nut bread
March 19, 2015
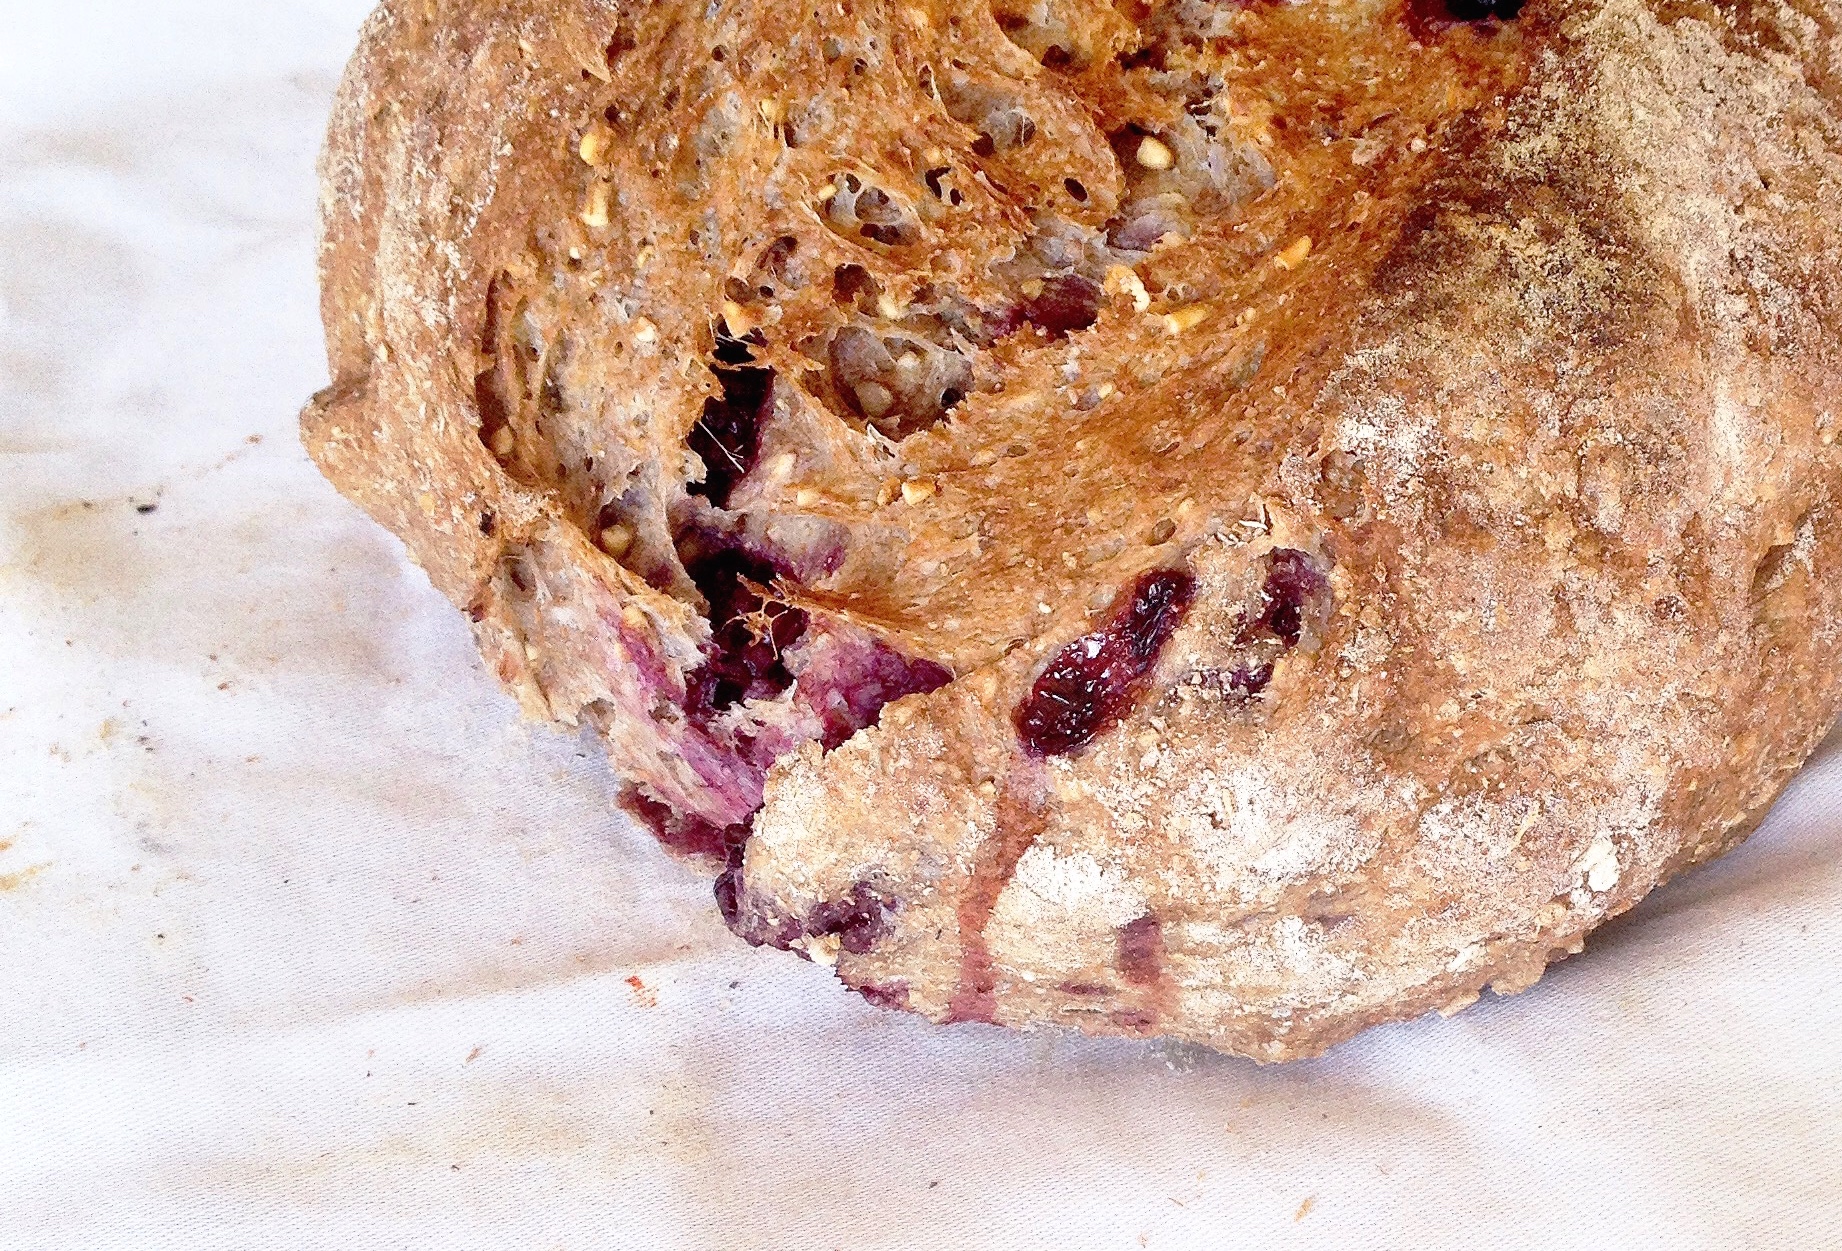
My daughter Rebekah has always loved baking. Perhaps it’s because she comes from a long line of bakers. My grandmother made 9 loaves of bread every Saturday in her farm kitchen. My mother loved baking. My sisters bake. I’ve got the baking gene. So she comes by it honestly, and she’s a good baker and only got better with a short stint at Blackbird Baking Co. last summer. So in her spare time in residence at UNBC she bakes, naturally. She fired up this blackberry nut bread inspired by engrained last week and sent me the photo and a full report. Yowzah! Her great-grandmother has to be proud.
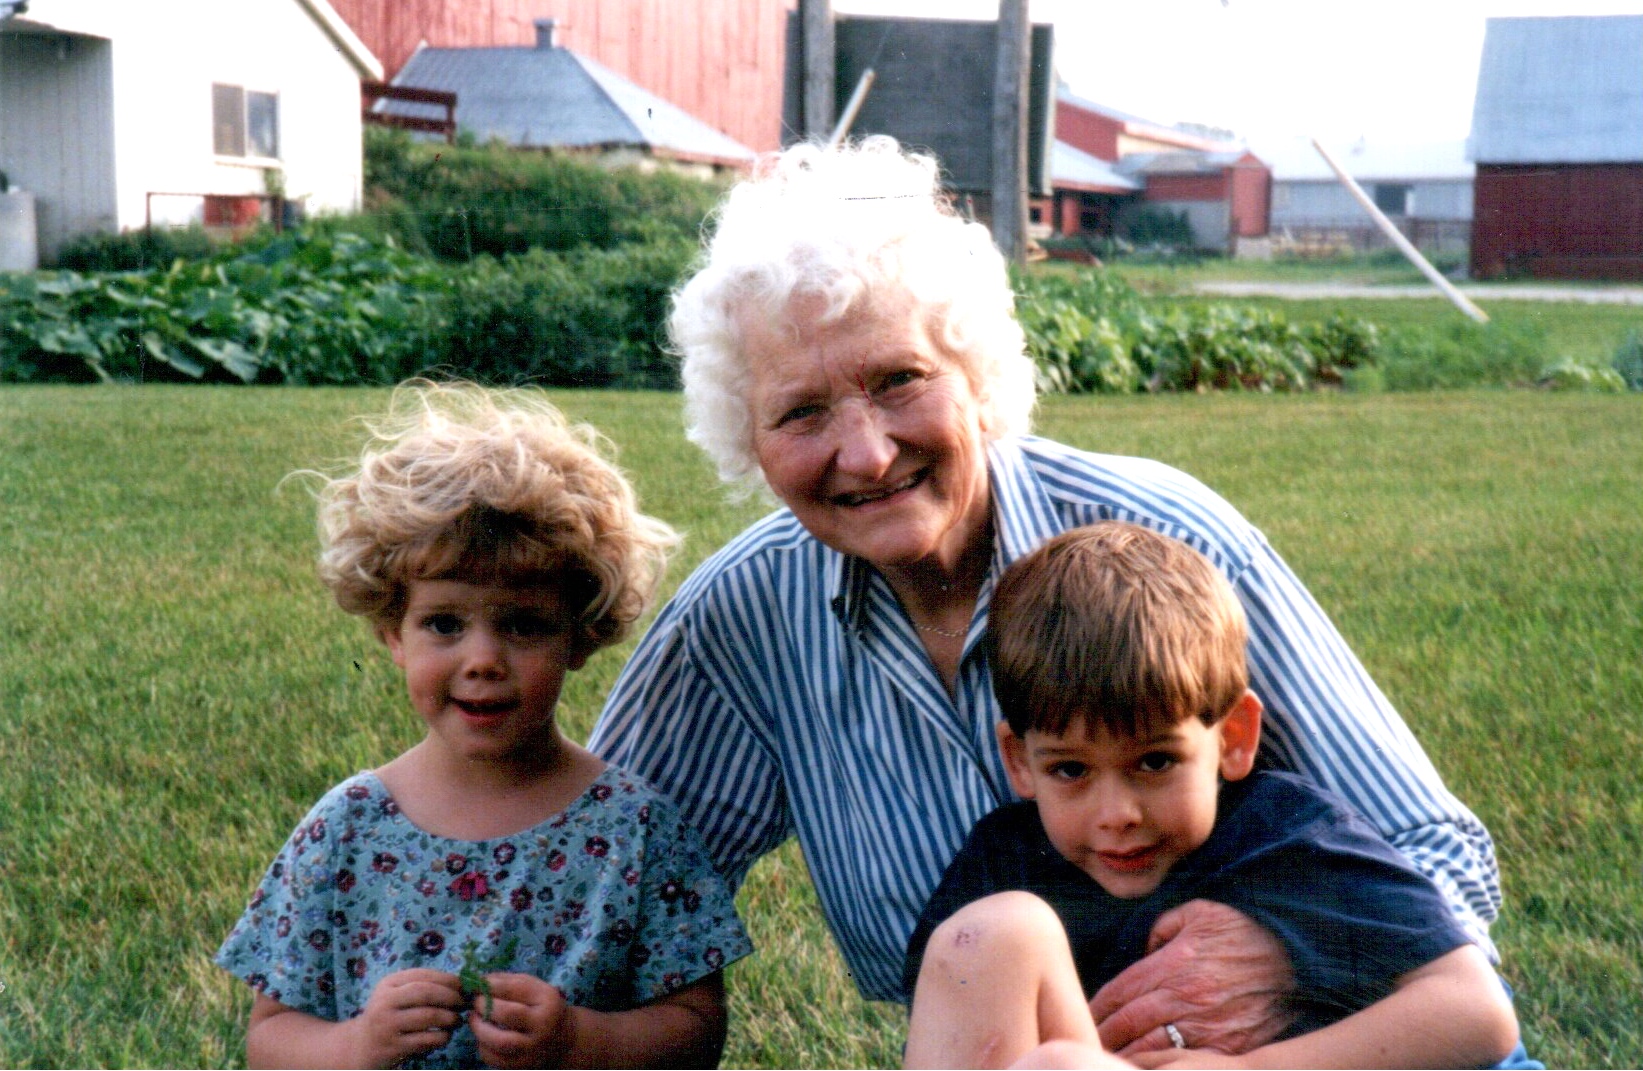
Rebekah with her great-grandmother and brother, Joshua, on the farm
2 1/2 cup bread flour
1/2 cup spelt flour
1/2 cup steel cut oats, toasted
1 1/2 tsp salt
3/4 tsp active dry yeast
1/2 cup blackberries
1 cup toasted nuts
1/3 cup maple syrup
1 3/4 cup water
Lightly toast oats in a dry saucepan over medium heat, let cool. In a large bowl combine flours, yeast, salt, and toasted oats. Add blackberries and nuts. Add water and maple syrup. Stir with your hand or a wooden spoon until just incorporated. Dough should be sticky and shaggy. If not add a tablespoon of bread flour or water until it is wet and sticky.
Cover bowl with a tea towel and let sit for 12 – 18 hours at a warm room temperature. Overnight on your stove top is a good way to go.
After 12 – 18 hours, dust your work surface generously with flour. Scrape your dough out onto your surface in one piece – the dough should be loose and sticky. Sprinkle with a bit of flour and then fold the dough over on itself twice. Cover with a tea towel and let sit for 15 more minutes.
Dust your hands with flour, making sure your work surface is still generously coated, and then lift the edges of your dough and tuck them into the centre until the dough is a round shape. Turn the dough over and gently roll it into a ball. Take your tea towel and generously coat it with flour. Place the dough into the towel with seam (tucked edges) facing down and then dust the top with more flour. Fold the towel loosely over the dough and place it in a warm location.
30 minutes before the end of the second rise, preheat the oven with cast iron pot to 450 degrees. Let heat for 30 minutes. While heating the cast iron, put a baking tray or deep pan underneath. Just before closing the oven to bake, dump a bunch of water into the tray. This will create steam allowing the bread to rise before the crust forms. Take pot from oven.
Slide your hand under the towel and turn over. Uncover and quickly/gently/safely turn dough over into the pot so that the seam is facing up. It may be a bit messy but that’s okay. Right before you put it in the oven, slash the dough cutting at an angle with the surface of the dough. Cover with lid and bake 30 minutes. Then uncover and bake for another 10 minutes, or until loaf is the color you like. Lift bread out of pot and let cool on cooling rack. One way to check if it’s done is to knock the bottom. If it sounds hollow, you should be good.
Fight the urge to cut the bread before it’s cooled!!! Slicing the bread too early will result in a doughy/mushy inside. Give it lots of love and it will be happy bread!
